The DMX Camera has two components, a Camera Manager and Camera Components.
DMX Camera Chart
To start, we have a chart for the DMX Camera Protocol (Pictured below).
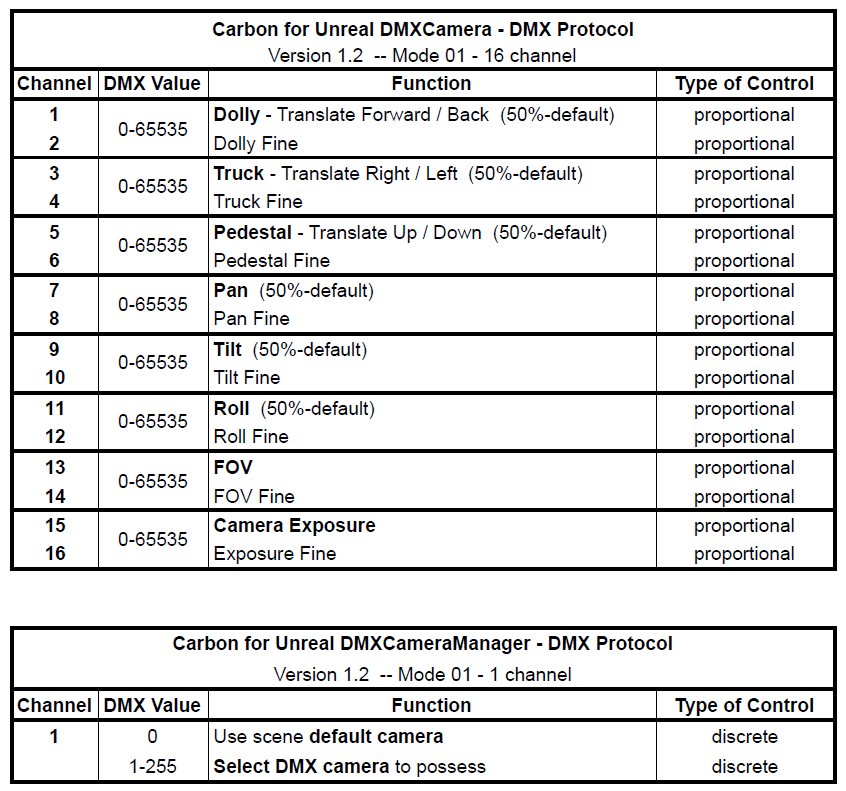
Download the DMXCamera Chart here: DMX Camera Chart
Using the DMX Camera Manager
After patching your DMX Camera and Switcher in your console:
- Navigate to the Carbon Library panel and find the DMX Camera asset under the "Helpers" category
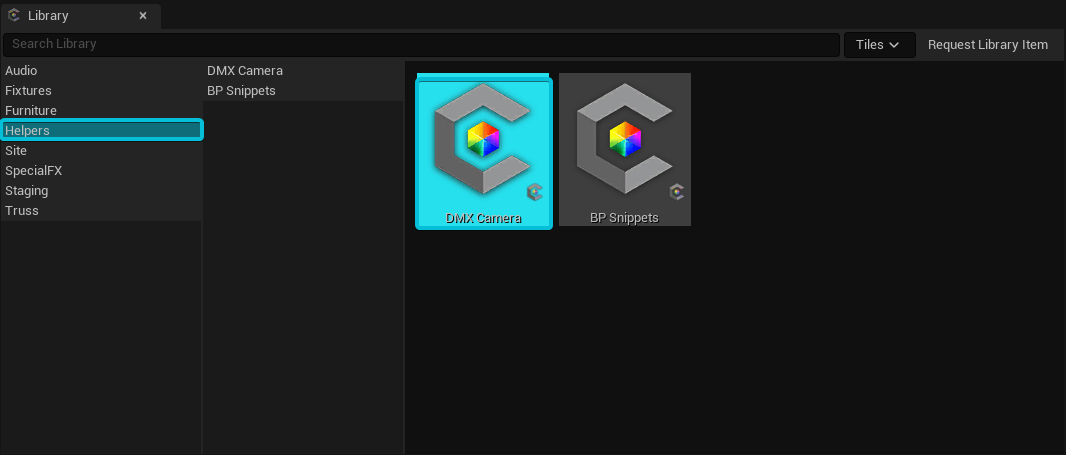
- Insert the DMX Camera:
- Right-click and select "Insert into scene" (for placement at origin).
- Alternatively, drag and drop the camera directly into the scene
- Verify DMX Camera Switcher:
- The first DMX Camera added to the level will automatically instantiate the DMX Camera Switcher.
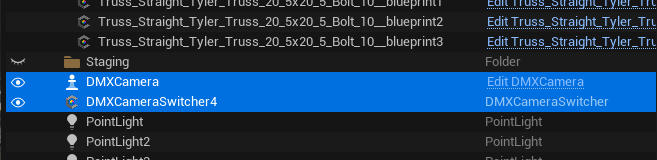
Ensure that a DMXCameraSwitcher asset has been spawned in the level outliner
- The first DMX Camera added to the level will automatically instantiate the DMX Camera Switcher.
- Configure the Switcher patch:
- Locate the DMX Camera Switcher in the outliner and set the appropriate patch in the Details panel
Note: The DMXCameraSwitcher patch is INDEPENDANT from the Cameras themselves
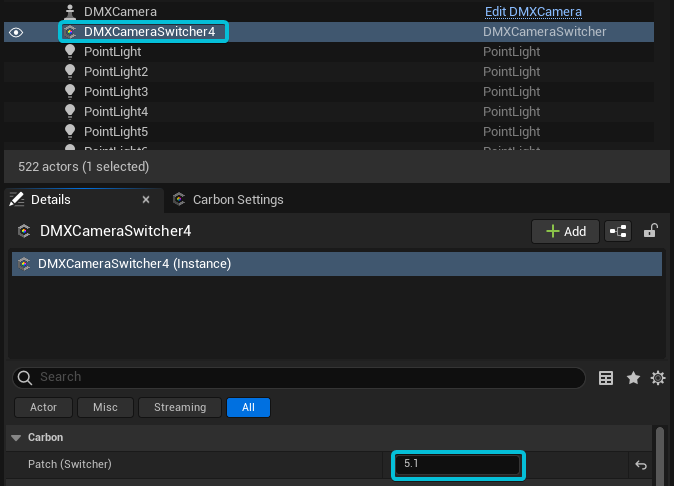
- Locate the DMX Camera Switcher in the outliner and set the appropriate patch in the Details panel
- Patch the DMX Camera(s)
- In the details panel, you can assign the appropriate patch to each DMX Camera (16 channels)
- The details panel also has many adjustable parameters that control the range of control
Make sure to change the Patch of the DMXCamera Manager in the Details panel to the correct channel if it wasn’t done already.
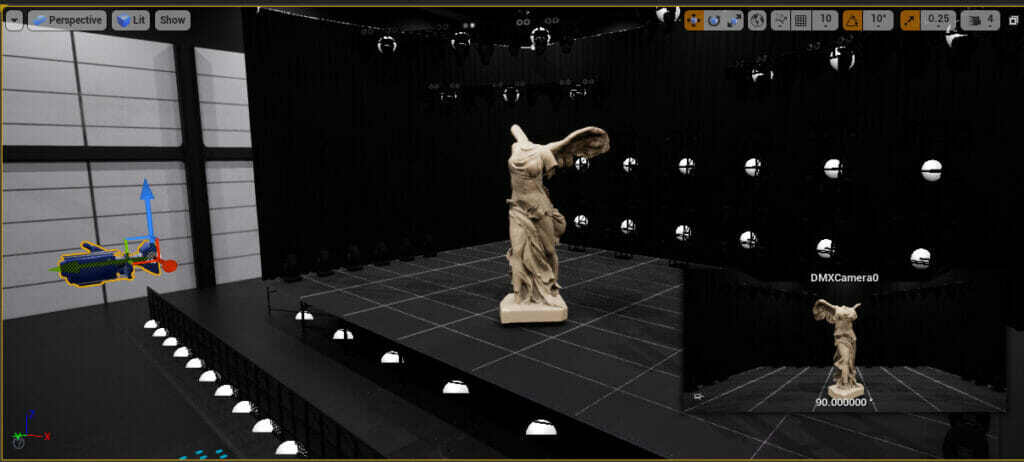
You can see from the picture below that when you move your DMXCamera to the "home" position you want, you can see a small viewport of what it will be looking at.
In the DMXCameraManager, the Camera Manager Patch will allow you to select the various different cameras in the scene. Each camera is offset by one, so a number zero camera is actually your camera one.
Check your connection in the Connection Panel in the CarbonCore Toolbar to make sure you are receiving DMX data before proceeding.
By default on the CameraManager channel, it is set to zero. If DMX Camera Manager is at zero, the default scene camera is used. When you change it to channel one on your console, you will see that the camera snaps to your DMX Camera. Now, you will be unable to move the camera within Unreal, but you can control it through the console the camera was patched to.
Movement
In your console, you have translation for forward and back, trucking left and right, and up and down. If you switch to rotation, you can pan around, tilt your camera, and roll your camera. You also have control of the Field of View (FOV), zoom, and also the exposure settings.