Using the LED Tape Blueprint with a custom mesh
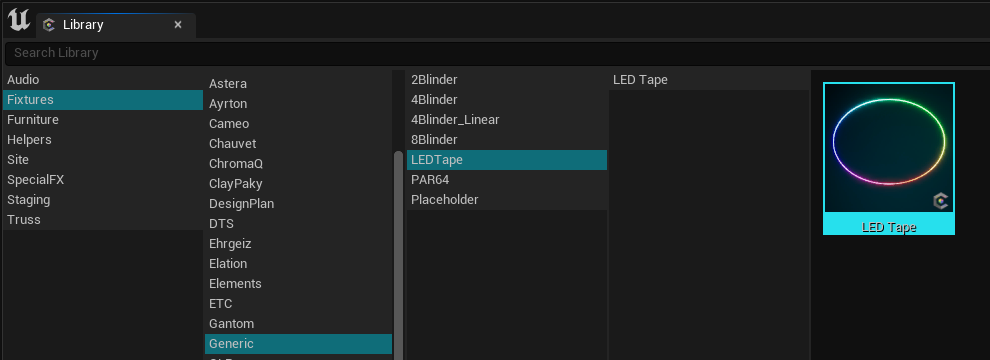
1. Insert LED Tape into level.
The LED Tape Blueprint can be found in the library panel under "Generic".
2. In the details panel, replace the default mesh with your own custom mesh.
Either make a mesh in an external modelling tool like Maya or Blender, or you can use Unreal's built in modelling tools to make your own mesh.
Note: Mesh must have UVs spread between 0 and 1 across the X-axis.
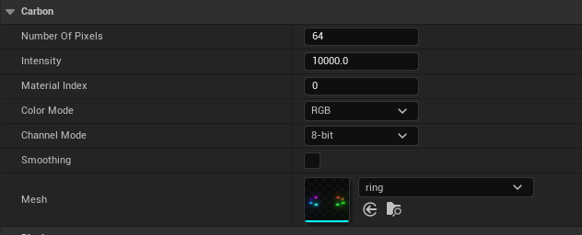
3. Adjust settings in details panel.
Under the Carbon section, there are many settings that you can customize:
| Number of Pixels | Sets the total number of pixels (LEDs) stretched across the custom LED tape. This defines how many individual light points the tape will have. |
| Intensity | Controls the brightness (Emissive intensity) of the LED pixels. |
| Material Index | Specifies which material slot on the mesh applies to the LED tape. Useful if the mesh has multiple materials. |
| Color Mode |
A checkbox to enable or disable RGBW mode. When checked, each pixel uses 4ch (RGBW), instead of the standard 3ch (RGB) |
| Channel Mode | Choose between 8 Bit (RGB,RGBW) or 16 bit (RRGGBB, RRGGBBWW) color modes |
| Smoothing | Toggles a smoothing effect on the pixel transitions. Creates a more gradual change in pixel effects |
| Mesh | Allows you to specify the model that the LED tape will be applied to. |
4. Patch LED Tape like any other Carbon fixture.
Either manually patch in details panel, or use the Auto Patch tool.
Note: When using Auto Patch tool, you must set the increments manually. (3ch per pixel for RGB, 4ch per pixel for RGBW)

For a demonstration of the Custom LED Tape blueprint in action, check out our YouTube video: